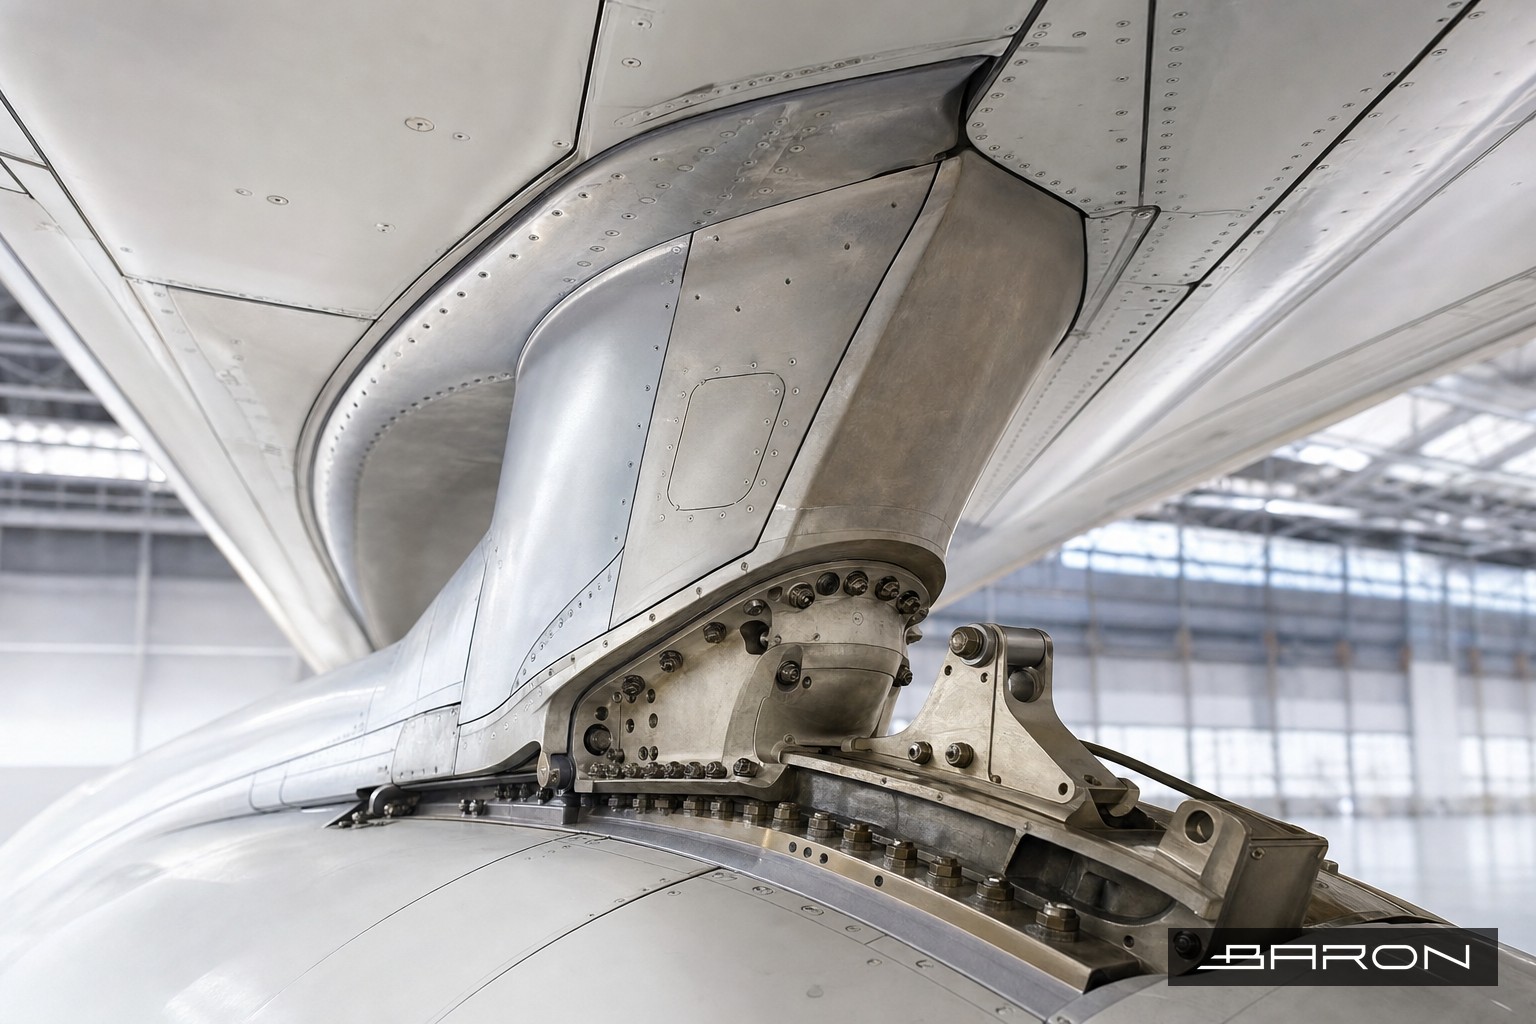
The pylon-to-wing attachment fittings carry the entire engine load into the wing structure. When an operator needs those fittings checked for cracking or corrosion without pulling hardware, radiography is usually the method that earns the job. The bolts, lugs, and clevis fittings sit buried under skin, doublers, and the pylon structure itself, so there is no surface to scan and no clean way to get a probe on the critical area. X-ray sees through all of it. This is one of the higher-stakes pylon tasks Baron NDT performs, and the setup matters as much as the read.
Why radiography for the attachment fittings
Most pylon work splits between eddy current on accessible fastener holes and fillet radii, and radiography for the fittings you cannot reach. The attachment lugs and the bolts that pin the pylon to the wing front and rear spar fittings are a classic RT target. They are thick, they are layered, and the defect of interest, a fatigue crack at a bolt bore or a lug, is exactly what a properly exposed film will show as a density change. We have covered the eddy current side of this work in our writeup on eddy current inspection of engine pylon front spar fittings, but when the inspection calls for through-thickness coverage on the fitting body or the attach bolts, you reach for the source.
The scope almost always comes from the OEM NDT manual or an airworthiness directive. The manual gives you the technique sheet: source-to-film distance, kV and exposure, IQI selection, film type, and the shot angles needed to put the crack plane in a readable orientation. Skip the technique sheet and you get film that looks fine and proves nothing. If you want the broader picture of how RT satisfies a directive, our guide on FAA airworthiness directive NDT compliance walks through method selection and documentation.
Setting up the shot
Access is the first fight. The fittings sit between the pylon and the wing lower surface, so you are working in a tight bay, often with cowling and access panels removed and the engine still hung. Film placement behind the fitting can mean reaching into a cavity blind, taping the cassette to structure, and confirming the cassette actually covers the area of interest before you energize the source. We mark the part, shoot a locator if the geometry is awkward, and double-check that the IQI is on the source side and reads the sensitivity the technique sheet requires, typically 2-2T per ASTM E1742 and ASME Section V Article 2.
Geometry is everything on a fitting like this. A tight crack at a lug bore is invisible if the beam crosses it at the wrong angle, so the technique sheet usually calls for two or more shots at different angles to catch the crack plane. We run the kV high enough to penetrate the thickest section in the frame without washing out the thin sections, and we hold geometric unsharpness down by keeping source-to-film distance honest, not shortening it to save exposure time. The same discipline applies on wing structure under the pylon, which we detailed in our piece on the A320 outer wing bottom skin under the pylon reinforcing plate.
Reading the film and what counts as a finding
A fitting radiograph is dense and busy. You are looking through the fitting body, the bolt, the bushing, and whatever doubler or shim stack sits in the load path. The reject criteria are spec-driven: a crack indication is rejectable, period, while porosity or an inclusion in a forged fitting gets measured against the acceptance table in the technique sheet or the structural repair manual. Corrosion shows as a density change along the faying surface or around the bore, and that gets compared to the allowable material loss the OEM publishes. The interpreter has to know the part well enough to call a real indication from a bushing edge, a thread shadow, or a fastener that just looks odd on film. That part is judgment, and it is why a Level II or III reads the film, not the person who exposed it.
Personnel and process both fall under NAS 410 for certification and the operator’s Part 145 written practice for everything else. Radiation safety is its own checklist, area survey, barricades, dosimetry, and a cleared exclusion zone, because most of this work happens in an active hangar with other crews nearby. We have also seen the attach bolts themselves called out for dedicated RT, which we covered in radiographic inspection of yoke-to-pylon attachment bolts. For the full method background, the ultimate guide to radiographic testing covers film, CR, DR, and image quality from the ground up.
Where it fits in the inspection
Pylon-to-wing RT rarely stands alone. It runs alongside eddy current on the accessible fittings, visual on the surrounding structure, and the rest of the pylon zone inspection that the airframe NDT program lays out. If you are mapping out a full pylon or airframe campaign, our ultimate guide to aircraft NDT inspection shows how the methods stack up by zone. The goal on the fittings is simple to state and hard to do well: clear film, the right angles, an interpreter who knows the part, and a record that holds up when the inspector or the OEM asks how the call was made.
Baron NDT is an FAA Part 145 repair station running radiography and the full method set on airframe and engine structure. If you have pylon or wing attachment work coming up, reach out and we will sort the technique before the engine comes off.